Preparing and Maintaining a Sterile Field
Key Points
- Sterile technique requires continuous contamination prevention from setup through procedure completion.
- Choose field intensity before setup: general aseptic field for easily protected key parts/sites versus critical aseptic field when protection is difficult and full sterile-field control is required.
- Hand hygiene, clean dry surfaces, and in-date intact supplies are required before opening sterile items.
- The 1 in (2.5 cm) package border is considered unsterile and must not be used as a sterile working area.
- A sterile field is considered contaminated when unattended, out of view, below waist level, above shoulder level, below table level, wet, or near holes/tears.
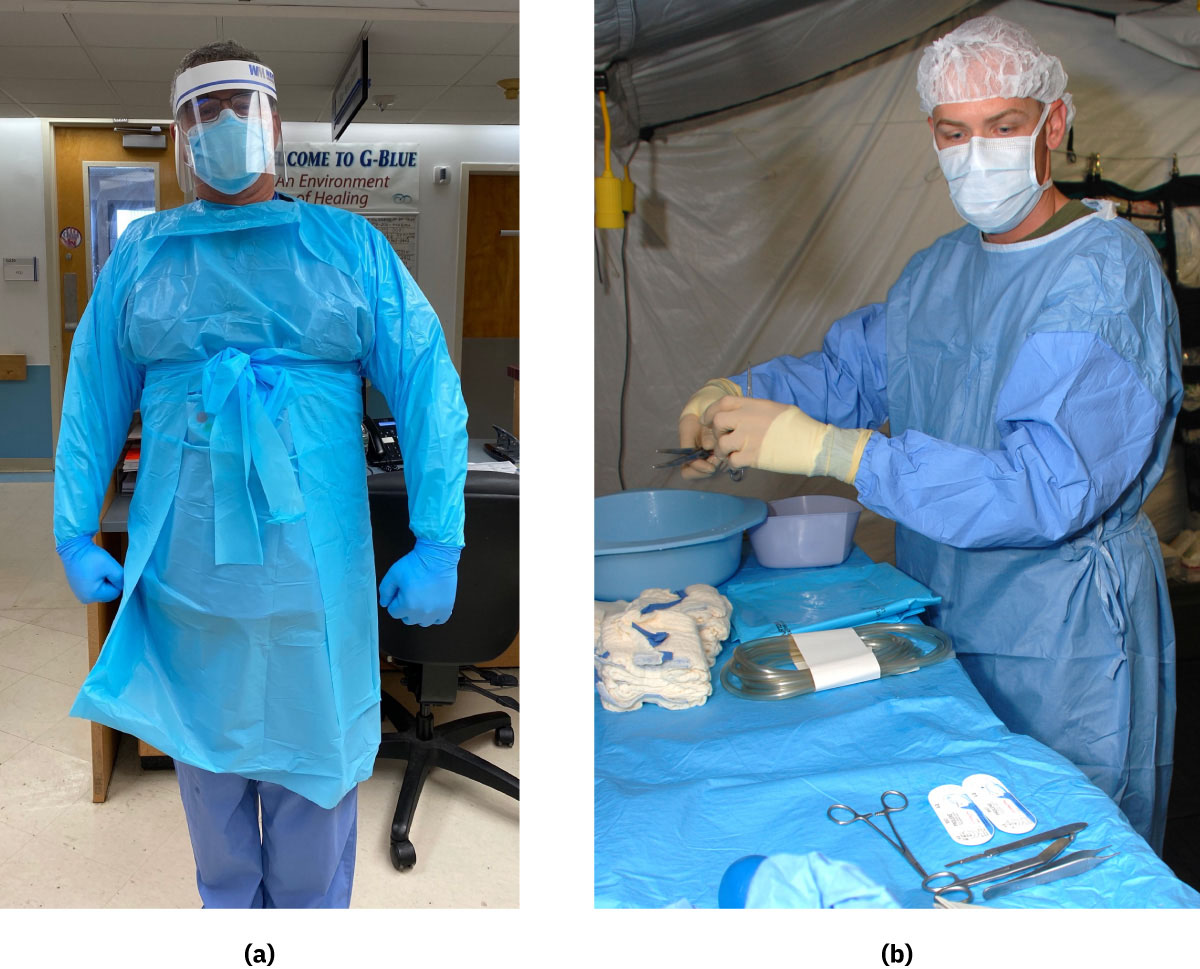 Illustration reference: OpenStax Fundamentals of Nursing Ch.10.2.
Equipment
- Sterile package or kit with intact seal and valid expiration date
- Clean, dry work surface
- Sterile gloves (with backup pair available)
- Sterile bowl/tray and sterile solution when needed
Procedure Steps
- Perform hand hygiene before beginning any sterile setup activity.
- Identify key parts and key sites for the planned procedure and determine whether a general aseptic field or critical aseptic field is required.
- Prepare a clean, dry workspace and gather all needed supplies within reach.
- Verify sterile package integrity before opening: no moisture exposure, holes, tears, or failed sterilization indicator; confirm expiration date.
- Open sterile kit flaps in sequence: first flap away from body, then side flaps one at a time, then final flap toward body, while touching only flap edges.
- While opening kits/wrappers, avoid positioning arms/body directly above sterile field and prevent opened flaps from springing back over sterile contents.
- Don sterile gloves using cuff-touch-only method while keeping hands above waist and in visual field.
- Maintain direct line of sight to the sterile field at all times; if field is not visible, consider sterility broken.
- Avoid reaching over field and prevent nonsterile sleeves, equipment, or dangling objects from entering field space.
- Keep all sterile items above waist level; items lowered below waist are nonsterile.
- Treat these zones/states as contaminated: 1 in field edge, drape below tabletop plane, field above shoulder level, unattended/out-of-view field, and any area near tears/moisture wick-through.
- Handle key parts only when needed and use non-touch technique whenever possible.
- Sequence setup and procedure steps from clean to dirty to reduce contamination transfer.
- When dispensing sterile items, prevent contact with outer packaging/former package seal; for heavy or irregular items, use sterile-gloved transfer assistance when needed.
- Open peel pouches by pulling the sealed edges apart and drop/dispense items from about 6 in (15 cm) above the field without crossing over the field.
- If using sterile solution, pour from the side into sterile container from about 6 in (15 cm) away, avoid splashing, and do not restart pouring from the same container edge once stopped.
- Don sterile gloves away from the sterile field to reduce field contamination risk.
- Replace any wet or contaminated items immediately and re-establish sterility before proceeding.
Common Errors
- Touching or using the 1 in package border as sterile → immediate field contamination.
- Turning away from field → sterility cannot be assured and field integrity is lost.
- Allowing sterile items below waist or wetting field → conversion to nonsterile status.
- Pouring directly over field or too quickly → splash contamination risk.
- Restarting a sterile-solution pour after stopping → container edge contamination transfer risk.
Related
- asepsis-in-nursing-care - Foundational concepts supporting sterile and clean technique decisions.
- clinical-glove-use-and-hand-hygiene-transitions - Hand hygiene and glove discipline support sterile workflow reliability.